
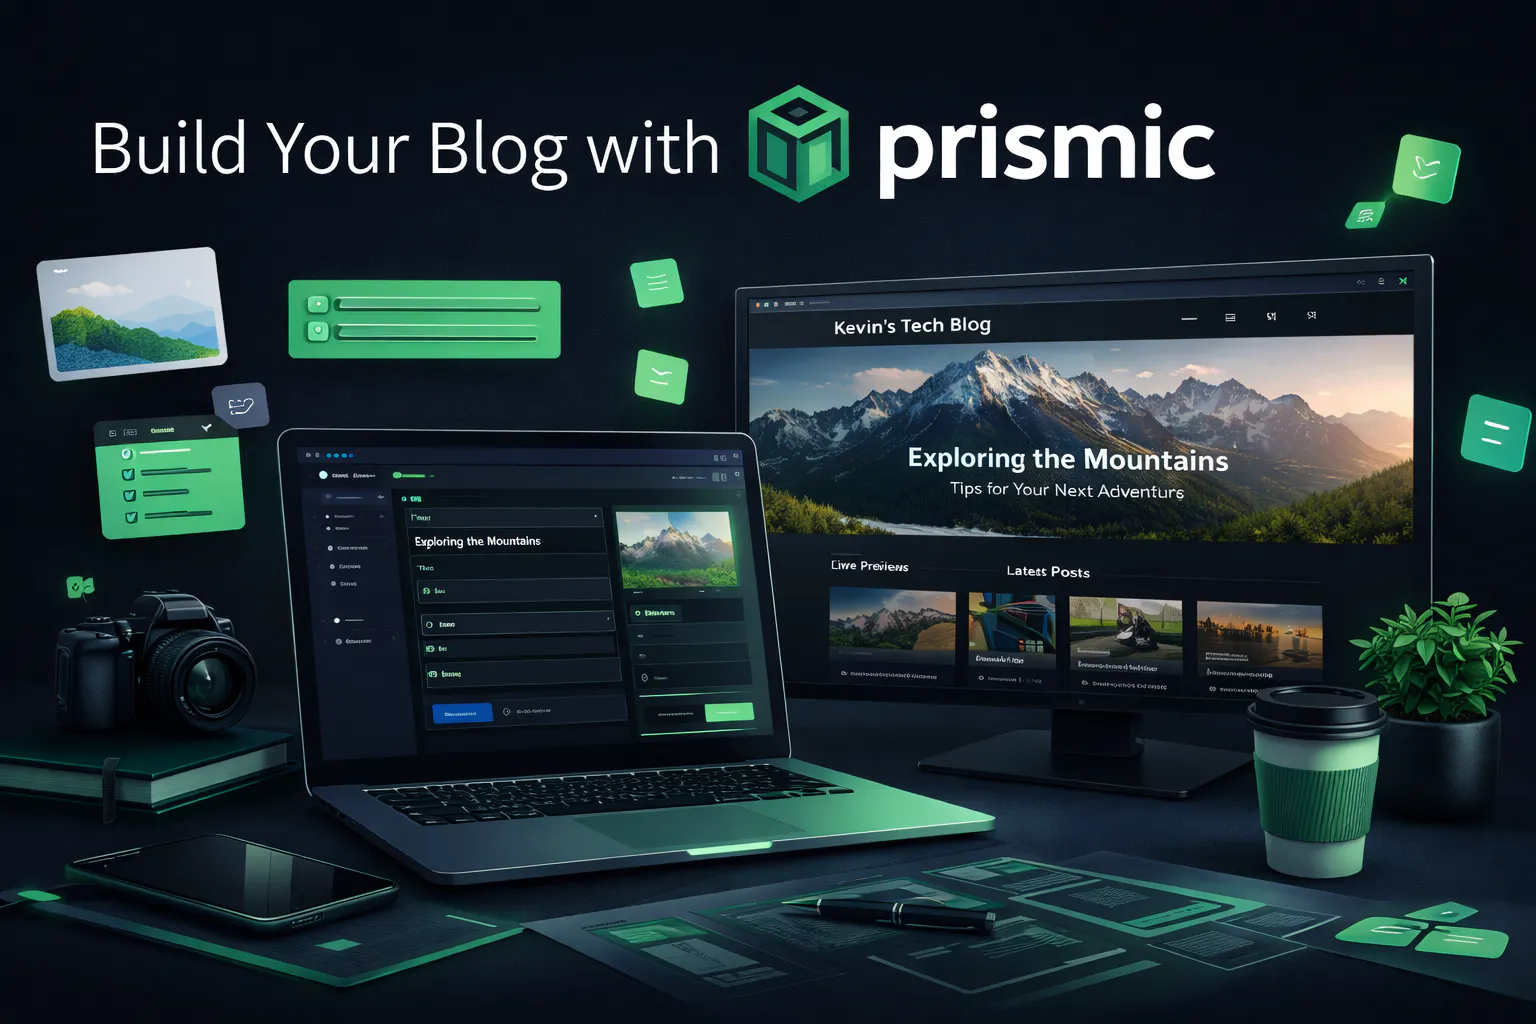
Prismic - A Headless CMS
This is the first time I am sharing my personal website. Before this, I had never built a personal website. I built my personal website using Prismic CMS and started writing articles on it. In this article, I will share my experience and explain how to use Prismic CMS. This article may not cover everything about Prismic CMS, so I will write a second article to explain the remaining parts.
To start using Prismic CMS, you only need to follow three simple steps.
- Creating account at https://prismic.io.
- Creating project by following their guide line.
I believe you have successfully completed the two steps above. The final step is the development step. Since I use Next.js, I will share my experience using Next.js with Prismic.
After you start the local development server, Prismic’s Slice Machine will also run on port 9999. In Slice Machine, there is a sidebar menu. However, you only need to focus on three main menus. These are:
- Slices
- Page types
- Custom types
1. Slices
This is the place where you can create your React components. First, you need to define the basic structure of your component’s content. Prismic supports many content types, and you can choose them by clicking the Add a Field button. After that, you can publish your component. Prismic will automatically create a React component inside the /slices folder in your project.
2. Page types
This is the place where you can create your website’s pages. For example, if your website includes Home, About, and Contact pages, you need to create them first in Page Types.
There are two options to create a page :
- Reusable type
- Single type
Reusable type
As the name suggests, this type of page can be used many times. For example: blog pages can have the same structure but different content. If you want to use a page repeatedly, you should choose the Reusable type.
Single type
You can choose the Single type option for pages such as the Home page, Contact page and other pages that are used only once.
After choosing the page type, you need to add the slices (components) that you want to use for this page. Then click Push Changes, and the page type will be activated. After that, you need to update the routes in the prismicio.ts file in your project. Then you can add content for this page inside page builder.
3. Custom types
Custom type also have two options to choose.
- Single type
- Reusable type
Single type
If you want to create a Footer, Navbar, or other similar parts, you should choose the Single type option. And then select the slices (components) that you want to use for this type. After choosing the slices and clicking Push Changes, you can add content for this custom type.
"For the Reusable type, I have never tried this option."
After completing the three steps above, you should have a simple basic website. After you deploy the website on Vercel, you need to connect webhooks between Prismic and Vercel. By doing this, whenever you change or update the content, Vercel will automatically redeploy the website.
"I still need to test localization, custom types (Reusable type option), and some other features in Prismic. After I learn more about them, I will write a second article to explain these parts in detail."
I hope this article helps you understand the basic steps to start using Prismic CMS. Thank you for reading, and see you in the next article.